

 Nosotros
Convert Images to JEF Embroidery Format: Easy Guide
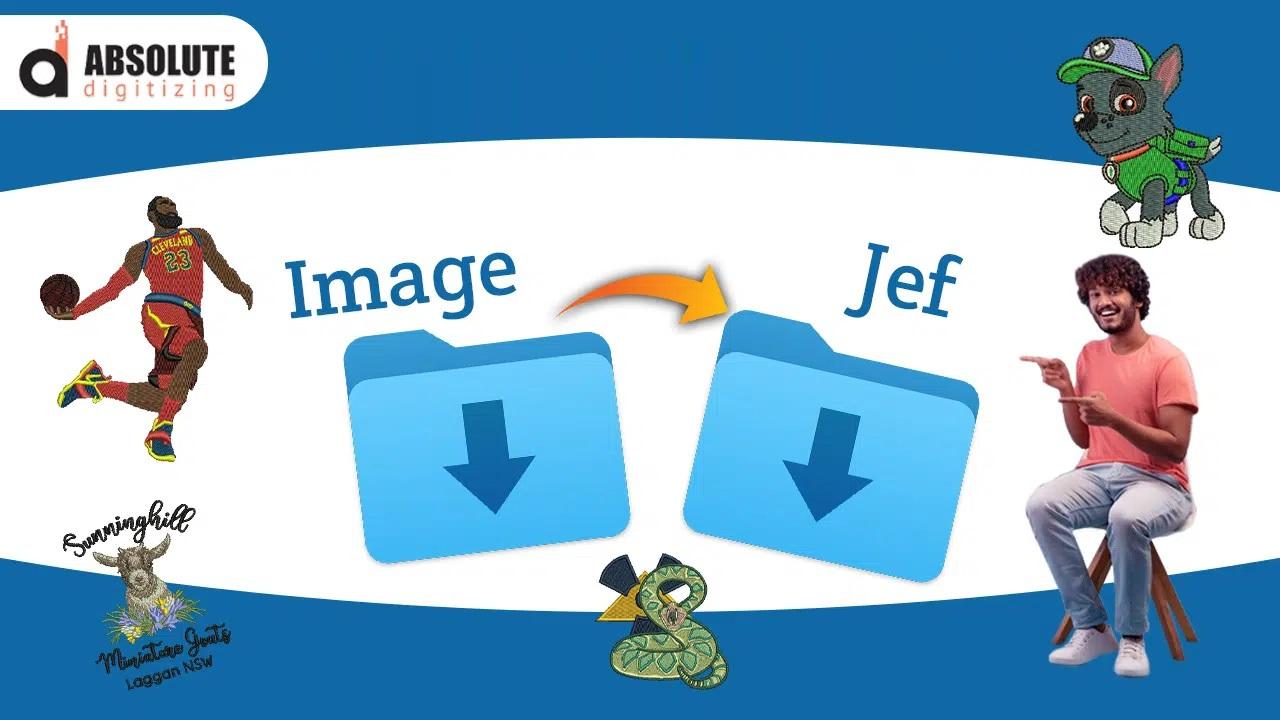
You have a logo or picture that looks perfect on your computer, but your embroidery machine cannot stitch it. Why? Because an image and an embroidery file are two very different things.
When you Convert Images to JEF Embroidery Format, you are not simply changing the file extension. The artwork must be transformed into embroidery stitches that a compatible machine can understand.
This guide explains how image-to-JEF conversion works, what files you can use, how to prepare artwork, common mistakes to avoid, and how to get better embroidery results.
Whether you want to stitch a company logo, monogram, patch, cap design, or custom artwork, understanding the conversion process will help you avoid frustrating stitch-outs.
What Is the JEF Embroidery Format?
JEF is a machine embroidery file format commonly associated with compatible Janome embroidery machines.
Unlike JPG, PNG, or other image formats, a JEF file contains embroidery information. It tells the machine how the design should be stitched.
Depending on the design, this information can include:
- Stitch locations
- Stitch sequence
- Stitch types
- Stitch direction
- Thread color changes
- Trims and jumps
- Design size and positioning
An image tells you what the design looks like. A JEF file tells an embroidery machine how to sew it.
That difference is the key to understanding image-to-embroidery conversion.
Can You Directly Convert a JPG or PNG to JEF?
Not in the same way you convert JPG to PNG.
A regular image does not contain stitch instructions. It contains pixels or vector shapes.
To create a usable embroidery file, the artwork needs to go through an embroidery digitizing process.
The basic workflow looks like this:
Image → Artwork preparation → Digitizing → Stitch editing → Testing → JEF export
Some software can automatically interpret artwork and create stitches. However, automatic conversion may still require manual editing, especially for detailed logos, small lettering, or designs that will be stitched on difficult fabrics.
Which Images Can Be Converted to JEF?
Almost any clear artwork can potentially be used as the starting point for embroidery digitizing.
Common source formats include:
JPG
JPG files are widely used for logos, photographs, and digital artwork. A high-resolution JPG can provide useful source material for digitizing.
Low-resolution JPGs may be harder to work with because edges can appear blurry or pixelated.
PNG
PNG files are useful when you have artwork with a transparent background.
A clean PNG can make it easier to identify the individual elements of a logo or design.
SVG
SVG is a vector format that stores artwork as scalable shapes. This can make it particularly useful when preparing simple graphics for embroidery.
AI and EPS
Vector artwork can often provide clean outlines and shapes that are easier to interpret during digitizing.
If you have the original vector version of your logo, provide that instead of taking a screenshot or using a compressed image.
How to Convert Images to JEF Embroidery Format
The exact software workflow can vary, but the basic process remains similar.
Step 1: Choose the Best Source Image
Start with the highest-quality artwork you have.
Avoid screenshots whenever possible. A blurry screenshot can make edges, text, and small details difficult to reproduce accurately.
Before starting, check:
- Image resolution
- Background
- Logo clarity
- Number of colors
- Small details
- Text size
- Overall design complexity
A clean source image gives the digitizer a much better starting point.
Step 2: Clean Up the Artwork
The original artwork may contain elements that are unnecessary for embroidery.
For example, a logo might have:
- A textured background
- Shadows
- Gradients
- Very thin lines
- Tiny decorative elements
- Extremely small text
These details may look good digitally but may not stitch well.
Simplifying the artwork can often produce a cleaner embroidered result.
Step 3: Set the Correct Design Size
Decide where the embroidery will be used before digitizing.
A logo for a shirt pocket has very different requirements from a large jacket-back design.
Consider whether the design will be used on:
- Caps
- Polo shirts
- Jackets
- Bags
- Towels
- Patches
- Uniforms
Design size affects stitch density, lettering, details, and stitch structure.
Step 4: Create the Embroidery Objects
Now the artwork needs to be rebuilt using embroidery objects.
Different parts of the image may require different stitch types.
Running Stitches
Running stitches work well for thin outlines, fine details, and narrow paths.
Satin Stitches
Satin stitches are often used for borders, lettering, and narrow shapes that need a smooth thread appearance.
Fill Stitches
Fill stitches are useful for covering larger areas.
Choosing the correct stitch type helps the design look natural when sewn.
Step 5: Set Stitch Density
Stitch density determines how closely stitches are placed.
Too few stitches can create poor coverage and allow the fabric to show through.
Too many stitches can create unnecessary bulk, increase stitch count, and contribute to thread breaks or puckering.
Good digitizing aims for a balance between coverage, appearance, fabric type, and stitch count.
Step 6: Add Appropriate Underlay
Underlay is placed beneath the visible stitches to help stabilize the fabric and support the top layer.
The correct underlay depends on the design and material.
For example, a dense logo on a stable fabric may require a different approach from lightweight or stretchy material.
Underlay is easy to overlook, but it can make a noticeable difference in the final stitch-out.
Step 7: Set Stitch Direction and Sequence
Stitch direction affects how embroidered surfaces look.
Changing stitch angles can add visual interest and help different design areas maintain their intended shape.
The sewing sequence is also important. A logical sequence can reduce unnecessary jumps, trims, and thread changes.
Step 8: Export the Design as JEF
After the design has been digitized and checked, export it in the required JEF format.
Before transferring the file to your machine, verify:
- JEF compatibility
- Hoop size
- Design dimensions
- Thread colors
- Stitch count
- Machine requirements
Different embroidery machines can have different limitations, so checking your machine's specifications is always a smart step.
Why Image Quality Matters
Imagine trying to trace a logo printed on a blurry piece of paper.
You can probably figure out the general shape, but tiny details are difficult to identify.
Digitizing works in much the same way.
A high-quality image makes it easier to identify:
- Clean edges
- Individual shapes
- Text
- Color boundaries
- Fine details
This is why the original artwork is usually much better than a screenshot copied from a website.
What Happens to Small Text?
Small lettering is one of the biggest challenges when converting an image into an embroidery design.
A font that looks sharp on a computer can become difficult to read when stitched with thread.
If the text is too small, a digitizer may need to:
- Simplify letter shapes
- Increase letter size
- Adjust stitch direction
- Modify stitch density
- Choose an embroidery-friendly lettering style
The goal is not always to reproduce every pixel. The goal is to make the lettering readable after it becomes thread.
What About Gradients and Photographs?
Embroidery does not reproduce digital gradients in exactly the same way as a screen.
A photograph can contain thousands of color variations, while an embroidery design normally uses a limited number of thread colors.
Complex artwork may therefore need to be simplified.
For example, a portrait might use carefully selected thread colors and stitch patterns to create the impression of shading rather than attempting to reproduce every pixel.
This is why converting a photograph into a professional embroidery design requires more than clicking an automatic conversion button.
Common Problems When Converting Images to JEF
Poor Stitch Coverage
If the stitch density or structure is incorrect, parts of the design may look thin or uneven.
Puckering
Puckering can happen when fabric and stitching are not properly balanced. Stabilization, stitch density, design structure, and fabric selection can all matter.
Thread Breaks
Excessive density, long stitch paths, unsuitable settings, or other digitizing problems can increase the risk of thread breaks.
Jagged Edges
Curves and small shapes need carefully planned stitch paths. Poor digitizing can make otherwise smooth artwork look rough.
Too Many Thread Changes
A design with unnecessary color changes can take longer to sew and require more manual intervention.
Design Distortion
Fabric can shift during stitching. Pull compensation and proper stabilization can help maintain the intended shape.
Automatic vs Professional Image-to-JEF Conversion
Automatic conversion tools can be convenient for simple artwork.
They may work reasonably well when the design contains:
- Basic shapes
- Simple lettering
- Few colors
- Clear outlines
- Large design elements
However, detailed artwork often needs manual adjustments.
Professional digitizing considers how the design will behave on actual fabric rather than only how it appears in software.
For business logos, uniforms, promotional products, and bulk embroidery, investing in properly digitized artwork can save time and reduce failed stitch-outs.
When Professional Digitizing Makes Sense
Consider professional help when your design includes:
- Small lettering
- Intricate logos
- Multiple overlapping objects
- Fine outlines
- Detailed artwork
- Complex color combinations
- Hat embroidery
- Large production runs
At Absolute Digitizing, the focus should be on creating an embroidery-ready design rather than simply changing an image into a different file format.
Tips for Better JEF Embroidery Results
If you want a clean final design, keep these practical tips in mind.
1. Use Original Artwork
Whenever possible, provide the original vector or high-resolution image.
2. Choose the Final Size First
Do not digitize a logo at one size and assume it will perform perfectly at every other size.
3. Keep Details Practical
Remove or simplify details that are too small to reproduce with thread.
4. Consider Your Fabric
A design for denim may need different settings from a design for a lightweight shirt.
5. Use Proper Stabilization
The right stabilizer can support the fabric and help maintain design quality.
6. Test Before Bulk Production
Always stitch a sample when the design is important or will be used for a large order.
7. Check the File Before Transfer
Make sure the design fits the selected hoop and is compatible with your embroidery machine.
Is JEF the Same as JPG?
No.
JPG is an image format used to store digital pictures and artwork.
JEF is an embroidery machine format that stores stitching instructions.
A JPG might tell you that a logo contains a blue circle and white lettering. A JEF file contains information that allows an embroidery machine to recreate those elements with thread.
This is why Convert Images to JEF Embroidery Format should be understood as a digitizing process rather than a simple file conversion.
How to Prepare a Logo Before JEF Conversion
If you are sending artwork to a digitizer, a little preparation can make the process easier.
Try to provide:
- The highest-quality version of the logo.
- The preferred embroidery size.
- The intended garment or material.
- The desired thread colors.
- The required hoop size.
- Any specific machine requirements.
- A reference showing how the finished logo should look.
Giving this information upfront can reduce revisions and help produce a more suitable embroidery file.
Final Thoughts
Learning how to Convert Images to JEF Embroidery Format starts with understanding that embroidery is not simply digital artwork.
A successful JEF design must be built around stitches, fabric, thread, machine capabilities, design size, and sewing behavior.
Start with clean artwork, simplify details where necessary, select suitable stitch types, control density and underlay, and always consider the fabric and final size. Most importantly, test the design before starting a large production run.
For simple artwork, automated tools can be a useful starting point. For detailed logos and commercial embroidery, professional digitizing can help turn your artwork into a cleaner, more reliable machine-ready design.
FAQs
1. Can I convert a JPG directly into a JEF file?
A JPG can be used as source artwork, but it needs to be digitized into embroidery stitches before it becomes a functional JEF file.
2. What type of image works best for JEF conversion?
High-resolution images and clean vector artwork are generally better starting points because they make shapes, edges, and colors easier to identify.
3. Can a JEF file be used on any embroidery machine?
No. JEF is intended for compatible embroidery machines. Always check your machine's supported formats, hoop sizes, and other requirements.
4. Why does my embroidery look different from the original image?
Thread and fabric behave differently from pixels on a screen. Small details, gradients, colors, and shapes may need to be adjusted during digitizing.
5. How can I get a high-quality JEF embroidery file?
Use clear artwork, select the correct design size, apply suitable stitch settings and stabilization, and test the design on the intended fabric before production.

 English