Have you ever had a great logo that looked perfect on your computer but failed to work properly on an embroidery machine? That is a common problem. A regular logo image cannot simply be loaded into an embroidery machine. It needs to be converted into a stitch-based format first.
Logo to JEF Embroidery Conversion turns your artwork into a JEF embroidery file that can be used with compatible embroidery machines. The process involves more than changing a file extension. Your logo must be digitized so the machine knows where to place stitches, how dense they should be, and which thread colors to use.
Whether you are preparing a business logo, sports emblem, clothing design, or custom patch, understanding this conversion process can help you get better embroidery results.
What Is Logo to JEF Embroidery Conversion?
Logo to JEF Embroidery Conversion is the process of transforming artwork into a JEF-compatible embroidery design.
A logo may start as a:
- JPG or JPEG image
- PNG image
- PDF artwork
- AI vector file
- EPS file
- SVG graphic
Unlike an image file, an embroidery file contains stitching instructions. These instructions tell the machine important details such as stitch placement, thread changes, stitch direction, and design sequencing.
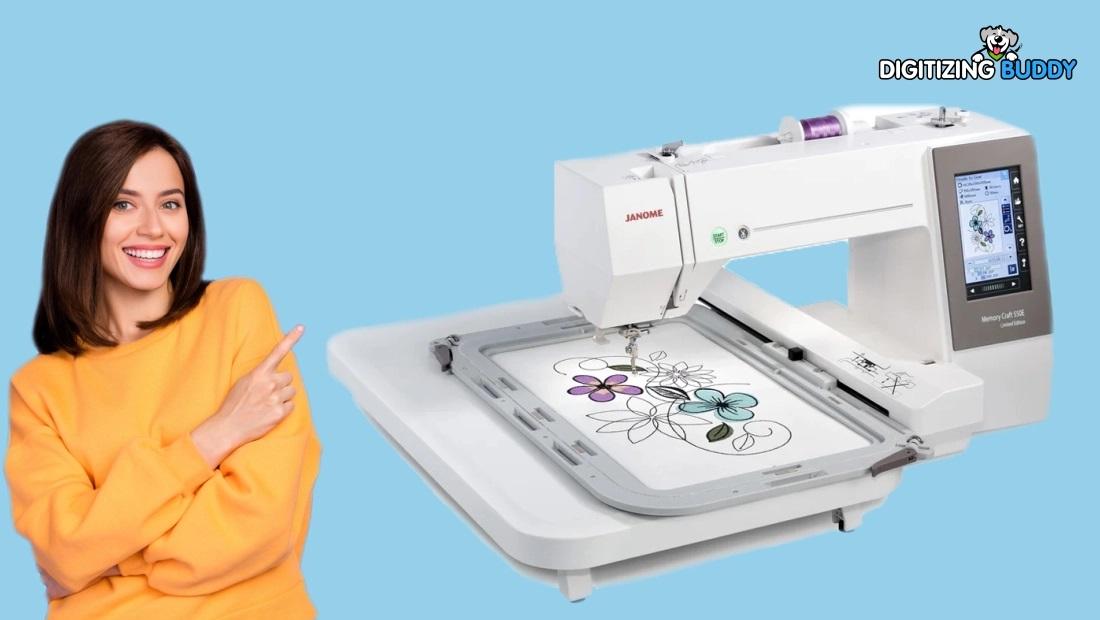
JEF is a commonly used embroidery file format associated with compatible Janome embroidery machines. The exact machine requirements can vary, so checking your machine's supported formats and hoop sizes is important before converting your artwork.
Why Can't You Just Rename the File?
This is one of the most common mistakes beginners make.
Changing logo.png to logo.jef does not actually convert the artwork. The file extension may look different, but the underlying data remains an image rather than embroidery instructions.
Proper conversion requires embroidery digitizing.
During digitizing, the artwork is recreated using embroidery objects such as:
- Satin stitches
- Fill stitches
- Running stitches
- Underlay stitches
- Color changes
- Thread trims
- Stitch paths
Think of it like turning a photograph of a road map into actual driving directions. The picture shows what the destination looks like, while the embroidery file tells the machine exactly how to get there.
How Does Logo to JEF Conversion Work?
A professional conversion normally follows several important stages.
1. Prepare the Logo
Start with the clearest version of your artwork.
A high-resolution image or vector file makes it easier to identify edges, shapes, and colors. Remove unnecessary backgrounds and simplify complicated elements where possible.
For example, a clean vector logo is usually easier to work with than a small, blurry screenshot.
2. Analyze the Artwork
Before digitizing, examine the logo carefully.
The digitizer determines:
- Which elements need stitching
- Which stitch types are appropriate
- The correct embroidery sequence
- Suitable thread colors
- The required design size
- Areas that may need simplification
This planning stage can make a major difference in the final result.
3. Create Embroidery Objects
The artwork is then recreated as individual embroidery objects.
Large areas may use fill stitches, while borders and narrow shapes may require satin or running stitches.
Small details need special attention because embroidery has physical limitations that ordinary digital artwork does not.
4. Set Stitch Density
Stitch density controls how closely stitches are placed together.
Too little density can leave fabric showing through the design. Too much density can make the embroidery stiff, bulky, or difficult for the machine to sew.
Good digitizing balances coverage with stitch count.
5. Add Underlay
Underlay stitches are placed beneath the main stitches to stabilize the fabric and support the design.
The appropriate underlay depends on factors such as:
- Fabric type
- Design size
- Stitch direction
- Object shape
- Stitch density
Without suitable underlay, some areas may shift, sink into the fabric, or lose their intended shape.
6. Set Stitch Direction and Sequence
Stitch direction affects the appearance of embroidered areas. It can also influence how light reflects from the thread.
The sewing sequence matters too. A well-planned sequence can reduce unnecessary jumps, trims, and thread changes.
7. Convert and Save as JEF
Once the design has been properly digitized and checked, it can be exported or saved in the required JEF format.
The file should then be checked against the embroidery machine's requirements, including hoop size and supported file specifications.
What Makes a Good JEF Embroidery File?
A successful JEF file is not simply one that opens on a machine. It should also produce clean, attractive embroidery.
Look for these qualities:
Clean Stitch Paths
Stitches should follow the shape of the artwork naturally. Poor stitch paths can create messy edges and unnecessary thread movement.
Balanced Density
The design should have enough stitches for good coverage without creating excessive bulk.
Correct Underlay
Underlay helps stabilize the design and can improve the appearance of satin and fill areas.
Proper Pull Compensation
Fabric can move slightly as stitches are sewn. Pull compensation helps compensate for this movement and can prevent gaps or distorted shapes.
Logical Stitch Sequence
A smart sewing order can reduce thread changes and unnecessary machine movement.
Suitable Design Size
A logo designed for a jacket back may not work well when reduced to a small chest emblem. Details that look clear on a screen can disappear when stitched at a smaller size.
Choosing the Right File for Conversion
The starting artwork can affect how easy the conversion process is.
Vector Artwork
Vector files such as AI, EPS, and SVG are often useful because their shapes can be scaled without losing quality.
PNG Files
PNG files can work well when the logo has a transparent background and sufficient resolution.
JPG Files
JPG artwork can also be converted, but low-resolution images may contain blurry edges or compression artifacts.
If your only copy is a small JPG, improving or recreating the artwork before digitizing may produce a better result.
Logo Size Matters
One logo cannot always be digitized once and used at every size.
Imagine a logo containing tiny text. At 10 inches wide, the lettering may be easy to reproduce. At 2 inches wide, those same letters may be too small for reliable embroidery.
For this reason, professional digitizing may involve creating different versions for different applications.
For example:
- Left-chest logo
- Hat logo
- Jacket-back logo
- Small patch design
- Large promotional design
Each version can be optimized for its intended size and fabric.
Common Problems During JEF Conversion
Even after conversion, embroidery problems can occur if the design was not prepared correctly.
Thread Breaks
Excessive density, unsuitable stitch settings, or problematic sequencing can contribute to thread breaks.
Puckering
Fabric may gather around heavily stitched areas when stabilization, density, or digitizing settings are not appropriate.
Jagged Edges
Small or complicated shapes may produce rough edges when the stitch structure does not properly follow the artwork.
Poor Small Text
Tiny lettering is particularly challenging. Embroidery thread has physical limits, so some fonts and details need to be simplified.
Too Many Thread Changes
A poorly planned design can contain unnecessary color changes, increasing sewing time and machine stops.
Tips for Better Logo to JEF Embroidery Conversion
If you want a professional-looking result, keep these tips in mind.
Use High-Quality Artwork
Whenever possible, provide the original vector logo or the highest-resolution artwork available.
Keep Small Details Simple
Not every detail in a digital logo needs to appear exactly the same in thread. Some tiny elements may need to be removed or enlarged for better embroidery.
Consider the Fabric
A design intended for denim may need different settings from one intended for a lightweight polo shirt or stretchy garment.
Select Appropriate Thread Colors
Screen colors and thread colors are not identical. Choose thread shades that provide strong contrast and maintain the character of the original logo.
Test Before Large Production
A sample stitch-out is one of the best ways to identify problems before producing dozens or hundreds of garments.
Work With an Experienced Digitizer
If the logo is detailed, small, or intended for commercial production, professional digitizing can save time and reduce failed stitch-outs.
When Should You Use a Professional Conversion Service?
DIY software can be useful for simple designs and learning embroidery digitizing. However, professional assistance can be valuable when your logo contains:
- Small lettering
- Detailed artwork
- Gradients or complex shading
- Multiple overlapping elements
- Fine outlines
- Large production quantities
- Different fabric types
At Digitizing Buddy, the goal is to turn artwork into practical embroidery files while considering stitch quality, fabric behavior, design size, and machine requirements.
A good conversion should focus on the final stitched result—not simply producing a file that technically opens.
Is Logo to JEF Conversion the Same as Image Conversion?
Not exactly.
Image conversion generally refers to changing one digital image format into another. For example, PNG to JPG changes the way the image is stored.
Embroidery conversion is different because the artwork needs to be translated into machine-readable stitches.
That is why simply using an online file converter may not produce a professional embroidery design. A proper embroidery file needs digitizing decisions behind it.
A Simple Logo-to-JEF Workflow
Here is the process in simple terms:
Logo artwork → Artwork preparation → Embroidery digitizing → Stitch settings → Design testing → JEF export → Machine test
Following this workflow helps ensure that the final design is ready for actual stitching rather than just looking correct on a computer screen.
Final Thoughts
Logo to JEF Embroidery Conversion is more than changing an image into another file type. It is the process of translating artwork into a structured set of stitches that an embroidery machine can understand.
The quality of the original logo, stitch density, underlay, stitch direction, design size, fabric, and sewing sequence can all affect the final result.
For simple designs, learning the basics can help you handle your own projects. For detailed logos or commercial production, professional digitizing can provide a cleaner and more reliable outcome.
The most important thing to remember is simple: a good embroidery file is designed for stitching, not just for viewing on a screen.
FAQs
1. What is Logo to JEF Embroidery Conversion?
It is the process of converting logo artwork into a JEF embroidery file containing stitch instructions for compatible embroidery machines.
2. Can I convert a JPG logo directly to JEF?
A JPG can be used as source artwork, but it must be properly digitized into embroidery stitches before it becomes a functional JEF file.
3. Is JEF suitable for every embroidery machine?
No. JEF is designed for compatible machines, so always check your machine's supported file formats and hoop specifications before using the file.
4. Why does my converted logo look different when embroidered?
Embroidery uses physical thread and fabric, so tiny details, gradients, spacing, and colors may need to be adjusted during digitizing.
5. How can I get better results from a JEF embroidery file?
Use high-quality artwork, appropriate stitch density, suitable underlay, correct sizing, proper stabilization, and test the design on the intended fabric before production.


 Nosotros

 Español